반응형
코드팩토리의 플러터 프로그래밍 - Splash Screen
우여곡절 끝에 플러터 설치를 마치고, 혼자 공부하다 잘 안되어 책을 구매하게 되었습니다.
기본 문법은 대충 보고, 첫번째 예제부터 따라해보기로 했습니다.
import 'package:flutter/material.dart';

void main() {
  runApp(const MyApp());
}

class MyApp extends StatelessWidget {
  const MyApp({super.key});

  // This widget is the root of your application.
  @override
  Widget build(BuildContext context) {
    return MaterialApp(
      home: Scaffold(
        body: Container(
          decoration: BoxDecoration(
            color: Colors.orange,
          ),
          child: Center(
            child: Text('Splash Screen'),
          ),
        ),
      ),
    );
  }
}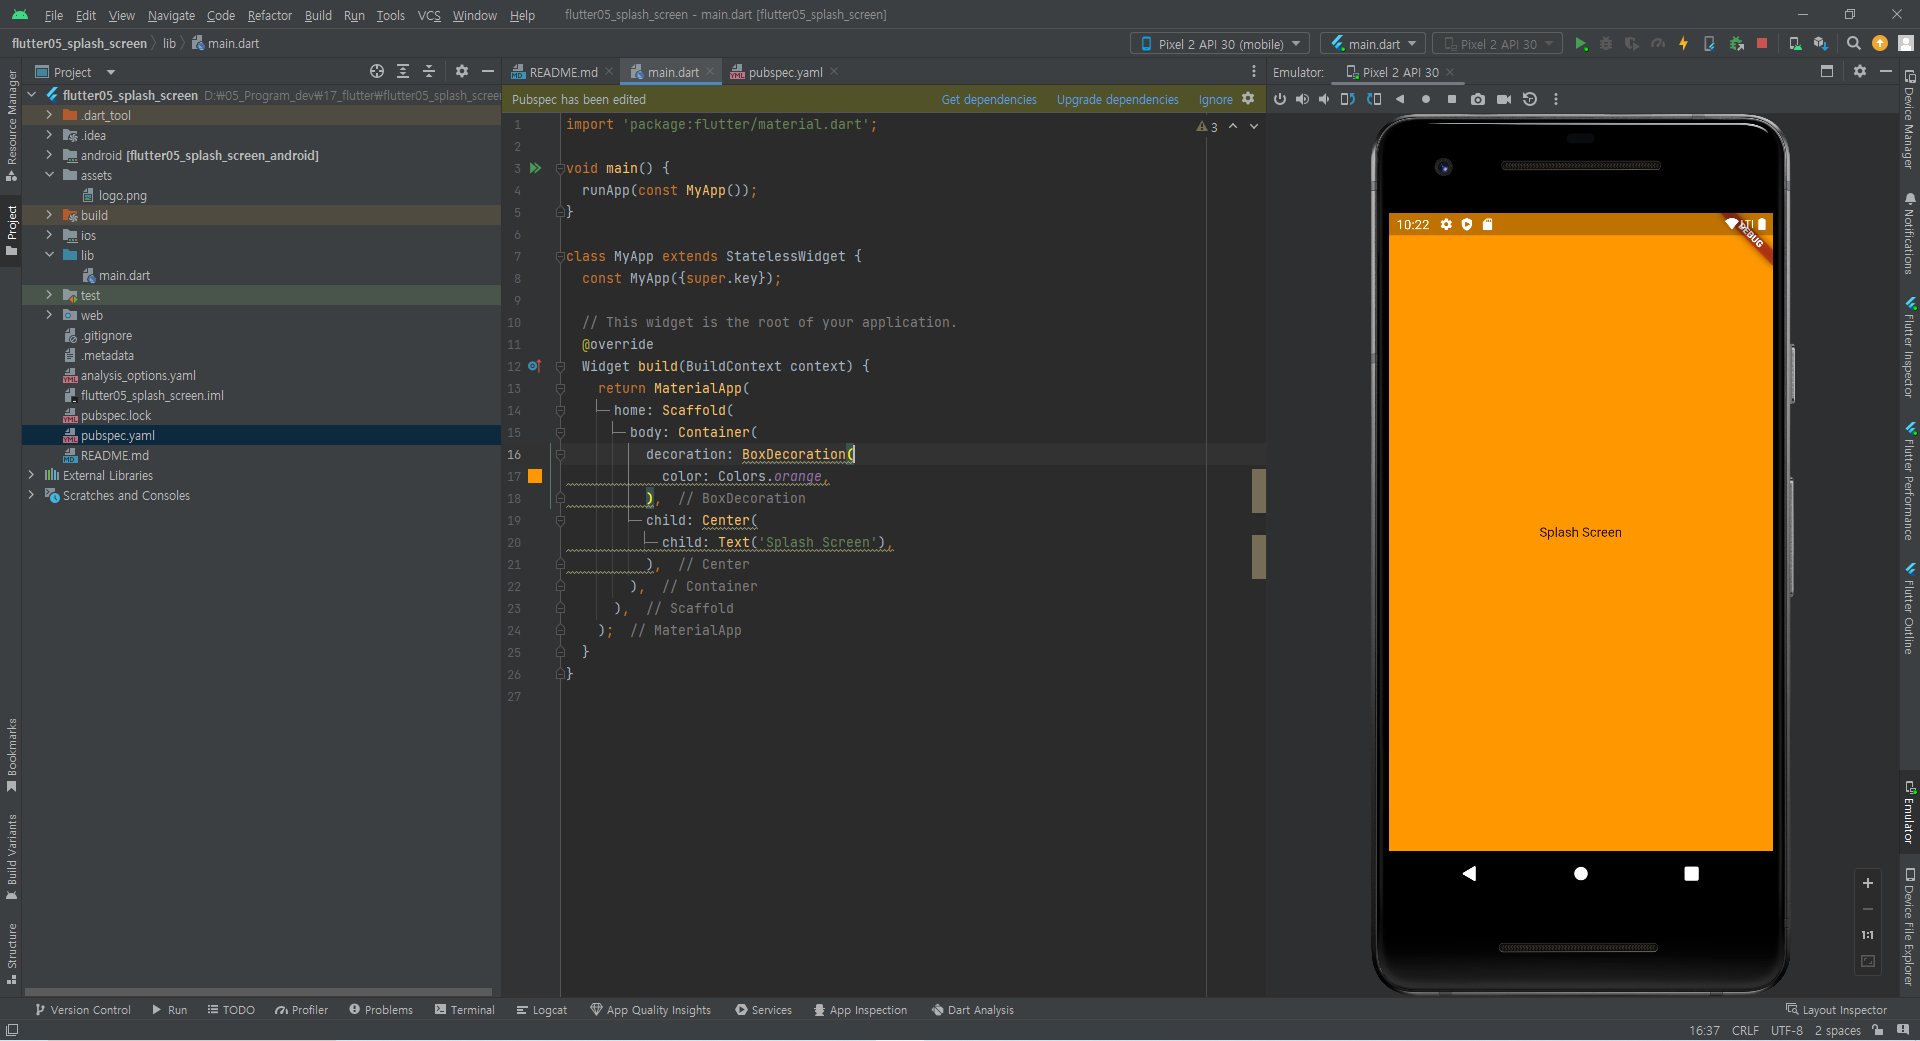
화면이 잘 나오네요. Dart라는게 좀 생소하긴 합니다. 첨이라 어렵네요.
다음으로 이미지를 넣어봅니다.
assets라는 폴더를 만들고, logo.png를 해당 폴더에 넣어줍니다. (github link)

아래쪽의 pubspec.yaml 파일을 수정하고..

상단의 pub get을 눌러줍니다. 그래야 해당 폴더가 asset으로 인식이 됩니다.

그리고 코드에 텍스트 표시부분을 이미지가 표시되도록 바꿔줍니다.
import 'package:flutter/material.dart';

void main() {
  runApp(const MyApp());
}

class MyApp extends StatelessWidget {
  const MyApp({super.key});

  // This widget is the root of your application.
  @override
  Widget build(BuildContext context) {
    return MaterialApp(
      home: Scaffold(
        body: Container(
          decoration: BoxDecoration(
            color: Colors.orange,
          ),
          child: Center(
            child: Image.asset( //교체
              'assets/logo.png' //교체
            ),
          ),
        ),
      ),
    );
  }
}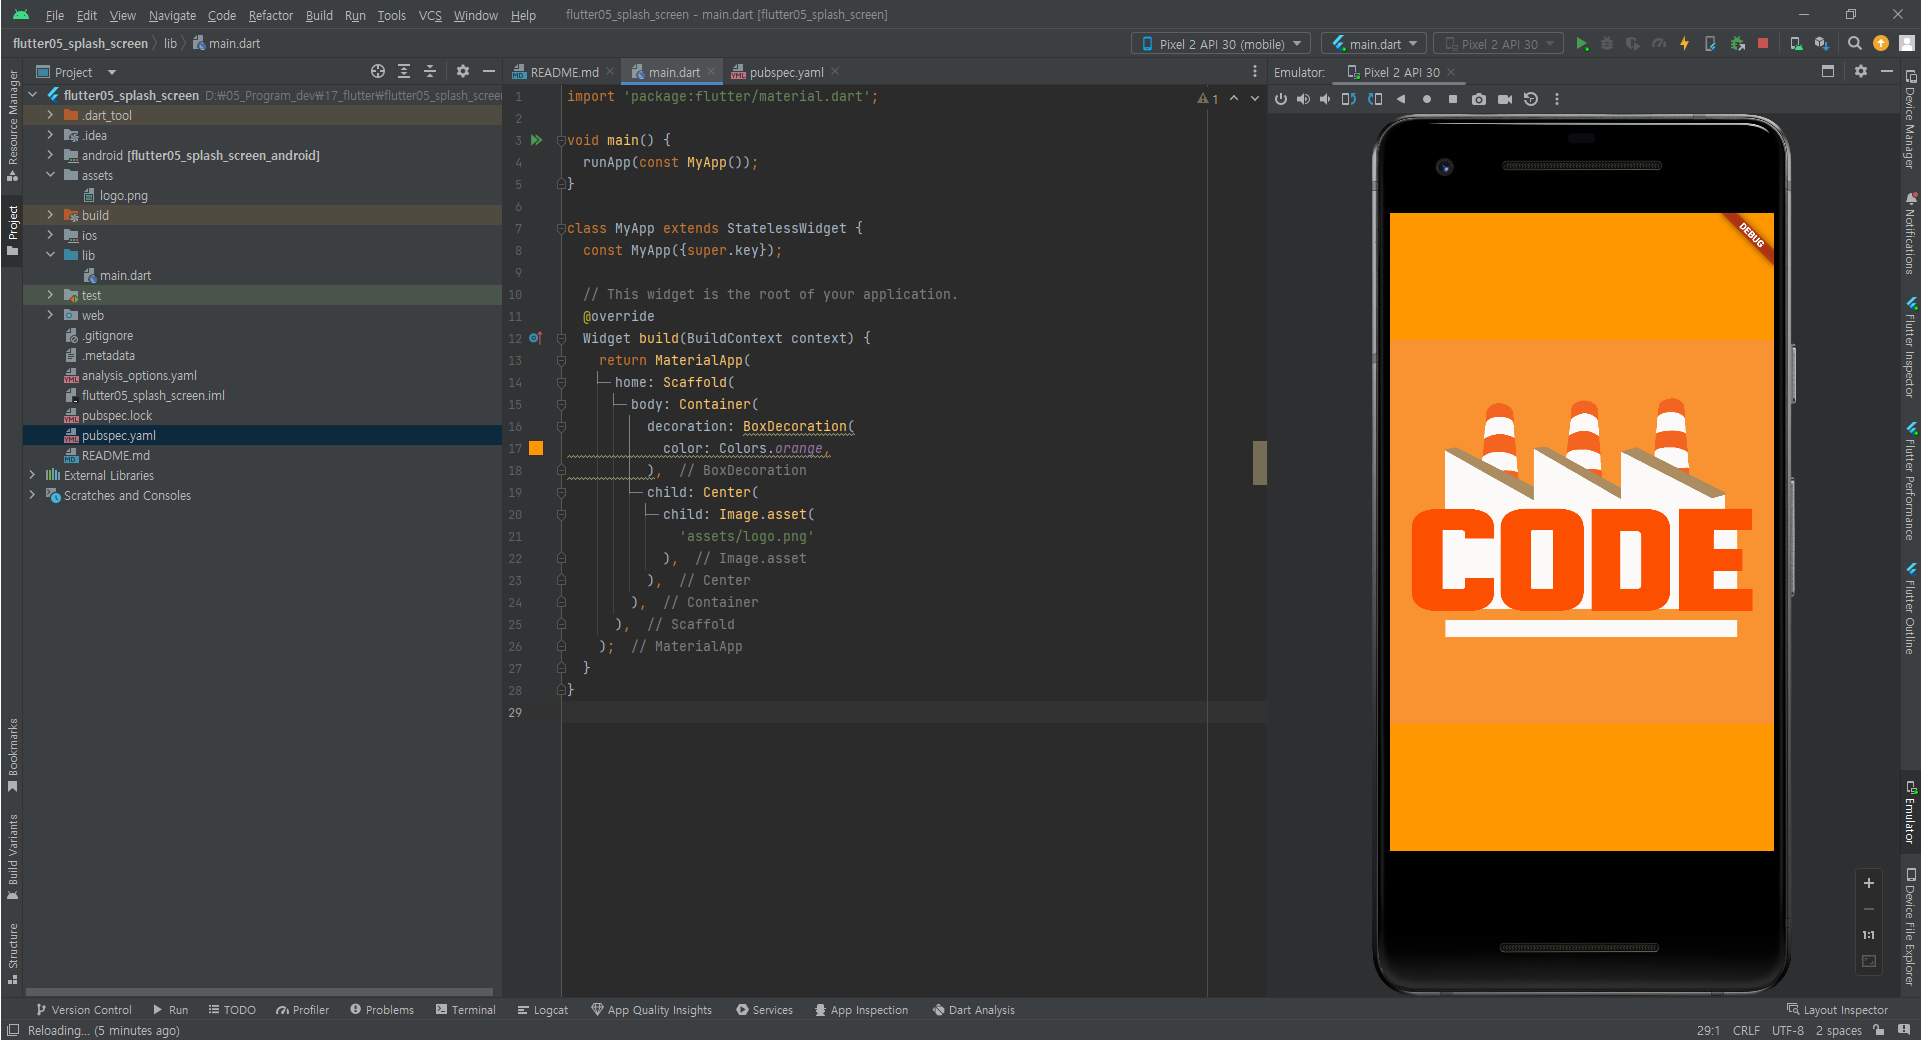
성공적으로 나오네요^^
반응형
'Programming > Flutter' 카테고리의 다른 글
| Flutter 단순 apk파일 만들기 (0) | 2023.03.30 |
|---|---|
| Flutter 시작하기 2 일차 : splash screen 정렬하기 (0) | 2023.03.03 |
| Windows에서 Visual Studio없이 플러터(flutter)설치하기 (0) | 2023.02.27 |

